How to Change Your Engine Oil in 5 Easy Steps
Changing your engine oil is one of the most fundamental maintenance tasks for any vehicle. Regular oil changes help maintain engine cleanliness and reduce wear over time. For many drivers, performing this task at home can be a practical way to become more familiar with their vehicle’s needs. This guide outlines the general process involved in an oil change, from gathering the necessary tools to properly disposing of used oil. It is designed for beginners who wish to understand the steps without assuming any guaranteed outcomes. The following information is provided as a general overview and does not replace the specific recommendations found in your vehicle’s owner manual or the advice of a certified mechanic.
Before beginning, it is important to recognize that every vehicle has unique specifications regarding oil type, filter size, and drain plug torque. The steps described here represent a common approach used for many conventional vehicles. Factors such as engine design, accessibility, and local regulations may influence how the process is carried out. By approaching the task with careful attention to detail and safety, a driver can gain a better understanding of their vehicle’s lubrication system. Preparation and methodical execution are key to completing the procedure smoothly.
Tools and Preparation
Having the right tools and materials on hand before starting can make the process more straightforward. A basic oil change typically requires a new oil filter that matches your engine, the correct amount and grade of engine oil as specified by the manufacturer, a wrench or socket set to remove the drain plug, an oil filter wrench, a drain pan to collect the old oil, and a funnel for refilling. Additionally, a pair of gloves and safety glasses are recommended to reduce contact with used oil and debris. Jack stands and a car jack may be necessary if the vehicle sits low to the ground, as working underneath requires stable support. Ramps can also be used, provided they are rated for the vehicle’s weight.
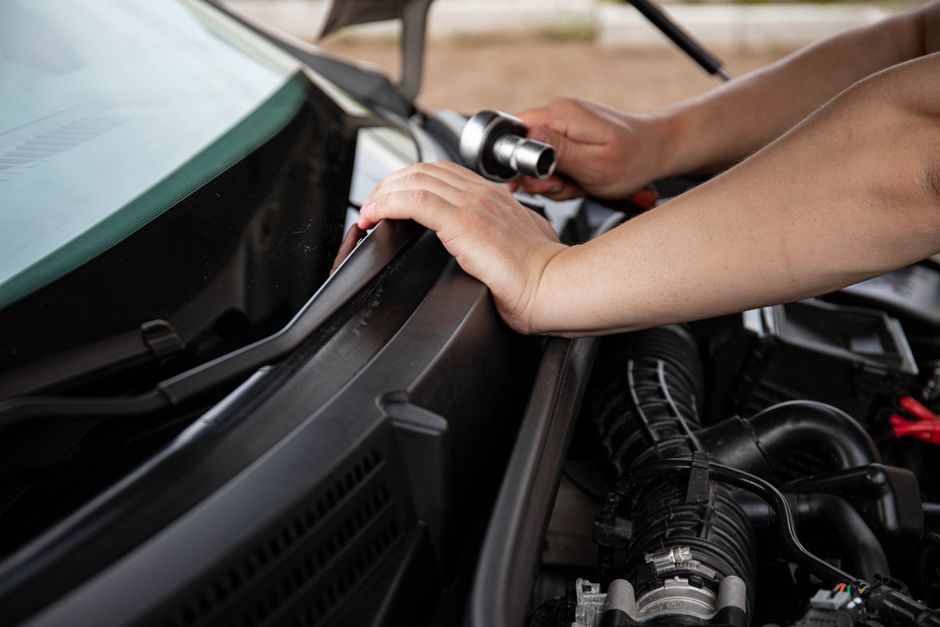
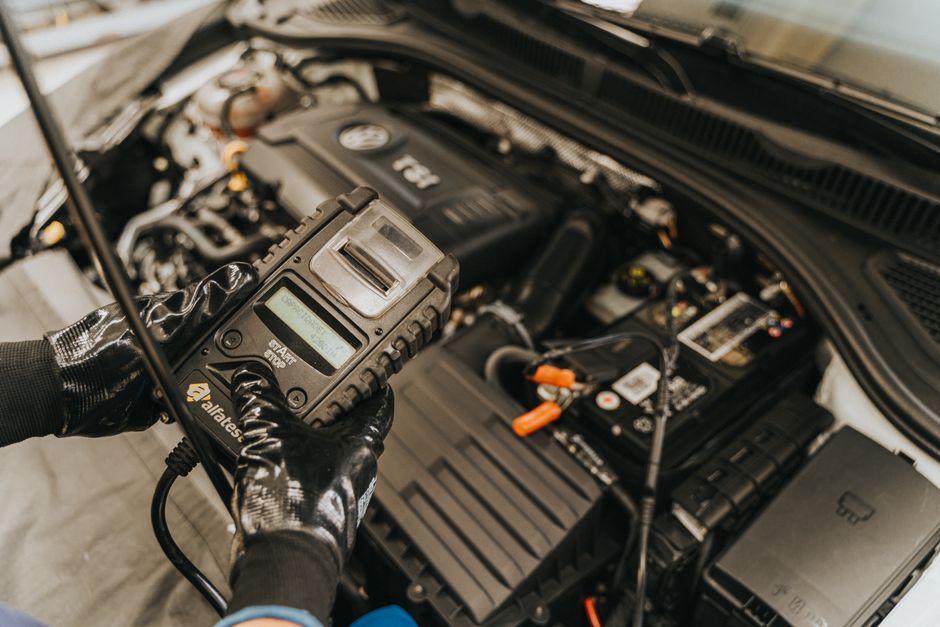
It is advisable to run the engine for a few minutes before draining the oil. Warm oil flows more easily and helps suspend contaminants, making the drain more effective. However, caution is needed because the oil and engine components can be hot. After warming, the vehicle should be parked on a level surface and the engine turned off. If the vehicle needs to be raised, it should be done following safe lifting practices. Placing wheel chocks behind the rear wheels adds an extra layer of stability. Once the vehicle is secure, the drain pan should be positioned under the oil pan drain plug. The filler cap on top of the engine should also be removed to allow air to enter and facilitate draining.
Draining the Old Oil
With the drain pan in place, the next step is to locate the drain plug on the bottom of the engine oil pan. Using the appropriate wrench or socket, the plug can be loosened by turning it counterclockwise. It is common for the plug to be tight, so steady pressure is often required. Once loosened, the plug can be unscrewed by hand, allowing the oil to flow into the pan. Care should be taken to avoid contact with the hot oil. The drain plug should be set aside in a clean area, and the drain pan should be positioned to catch the full stream of oil. The oil will drain more quickly when warm, and it typically takes several minutes for the majority of the oil to exit the engine.
While the oil is draining, it is a good time to inspect the drain plug for any metal particles or damage. The condition of the plug and the oil can sometimes provide information about engine health, though a complete analysis would require laboratory testing. After the oil flow has slowed to a drip, the drain plug can be reinserted. It is important to clean the area around the drain hole and the plug threads before reinstalling. The plug should be tightened according to the manufacturer’s torque specification. Over-tightening can damage the oil pan threads, while under-tightening may cause leaks. If a torque wrench is not available, a snug fit with a standard wrench is often acceptable, but caution is advised.
Replacing the Oil Filter
Once the old oil has been drained, attention can turn to the oil filter. The filter is usually located on the side or bottom of the engine. An oil filter wrench or a strap wrench may be needed to loosen it. The filter should be turned counterclockwise until it can be unscrewed by hand. Some oil will likely spill out, so the drain pan should remain underneath. After removing the old filter, it is advisable to clean the filter mounting surface on the engine. Any old gasket material remaining can prevent a proper seal. Before installing the new filter, a small amount of fresh oil should be applied to the new filter’s rubber gasket. This helps create a good seal and makes future removal easier. The new filter can then be screwed on by hand until the gasket makes contact, followed by an additional three-quarter turn or as specified by the filter manufacturer. Hand tightening is generally sufficient; using a wrench can damage the filter or over-tighten it.
Some vehicles use a cartridge-style filter that requires replacing an internal element and an O-ring. The process for these filters is slightly different, involving a housing that must be removed and cleaned. In such cases, the specific instructions provided by the vehicle manufacturer or the filter supplier should be followed. Whether using a spin-on or cartridge filter, ensuring the correct fit and proper installation supports consistent oil flow and filtration. Used filters contain residual oil and should be placed in a plastic bag or container for recycling, just like the drained oil.
Refilling with New Oil
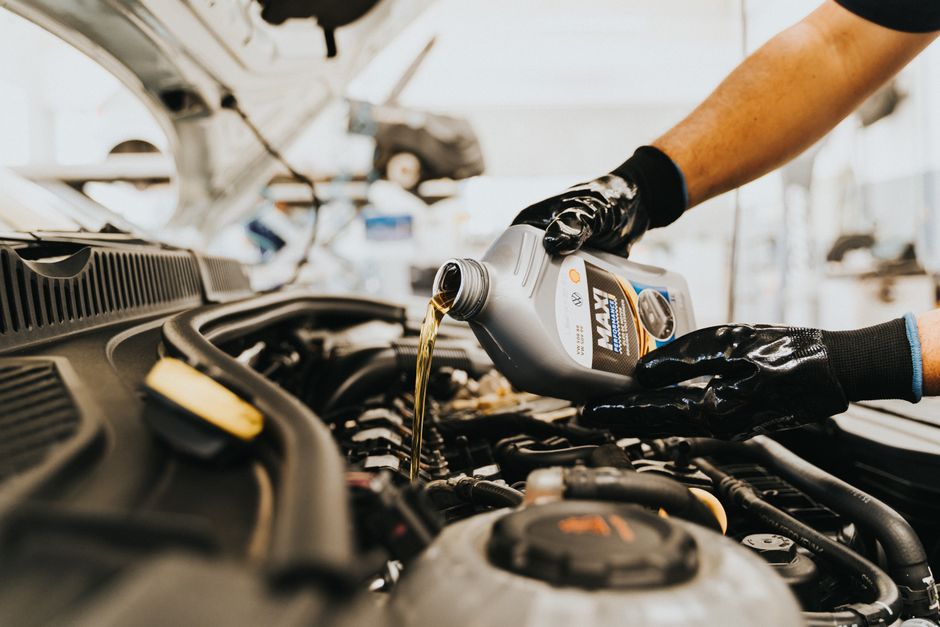
With the drain plug tightened and the new filter installed, the engine is ready for fresh oil. The filler cap, which was removed earlier, provides access to the valve cover. A funnel can help avoid spills. The recommended oil type and viscosity are listed in the owner’s manual and sometimes on the oil filler cap. It is important to add the oil gradually, checking the level with the dipstick periodically. Most engines require between four and six quarts, but the exact amount varies. Adding oil slowly helps prevent overfilling, which can cause foaming and extra pressure within the engine. After adding the initial amount, the filler cap should be replaced and the engine started briefly. This allows the oil to circulate into the filter and engine passages. The engine should run for about 30 seconds to one minute, and then be turned off. After a minute of settling, the dipstick can be used to check the oil level. Additional oil can be added as needed to reach the full mark.
It is common for the oil level to drop slightly after the initial start because the filter absorbs some oil. Checking the level again after a short drive can provide a more accurate reading. The oil level should be kept between the minimum and maximum marks on the dipstick. Overfilling can be just as problematic as underfilling. Once the correct level is confirmed, the filler cap should be tightened securely. Any spilled oil around the fill area can be wiped away with a cloth. The engine compartment should be checked for any signs of leaks around the drain plug and filter before the vehicle is driven.
Final Checks and Disposal
After completing the oil change, a few final checks can help confirm that everything is in order. The dipstick level should be rechecked after a short drive to ensure stability. The oil pressure light should not remain illuminated, and no unusual noises should be present. It is also wise to inspect the ground under the vehicle after parking for several hours to detect any drips. If leaks are found, the drain plug or filter may need to be tightened further, though careful attention to torque specifications can help prevent this. The old oil and used filter should be handled responsibly. Most automotive parts stores, service centers, and municipal recycling facilities accept used oil and filters for proper disposal or recycling. Pouring used oil into the ground or household drains is harmful to the environment and illegal in many areas.
Keeping a record of the oil change, including the date, mileage, and type of oil used, can support regular vehicle maintenance tracking. Some drivers find it helpful to label the new filter with the mileage or date for quick reference. The steps outlined here provide a general framework for changing engine oil, but individual vehicles may require adjustments. Consulting the owner’s manual and observing manufacturer guidelines remains the most reliable approach. By understanding each stage of the process, beginners can approach the task with greater confidence and awareness of their vehicle’s lubrication needs.